


In the previous section, we have learned and understood Git. In this section, we will see how to install Git on Linux, Mac OS and Windows operating system.
Getting Started - Installing Git
Installing Git
Before you start using Git, you have to make it available on your computer. Even if it's already installed, it's probably a good idea to update to the latest version. You can either install it as a package or via another installer or download the source code and compile it yourself.
Installing on Linux
Git is already installed in all Linux flavors but if your system doesn't have git installed then follow along with the tutorial. If you want to install the basic Git tools on Linux via a binary installer, you can generally do so through the package management tool that comes with your distribution.
If you're on Fedora (or any closely-related RPM-based distribution, such as RHEL or CentOS), you can use dnf:
$ sudo dnf install git-all
If you're on a Debian-based distribution, such as Ubuntu, Kali Linux try apt:
$ sudo apt install git-all
For more options, there are instructions for installing on several different Unix distributions on the Git website, at https://git-scm.com/download/linux.
Installing on macOS
There are several ways to install Git on a Mac. The easiest is probably to install the Xcode Command Line Tools. On Mavericks (10.9) or above you can do this simply by trying to run git from the Terminal the very first time.
$ git --version
If you don't have it installed already, it will prompt you to install it.
If you want a more up-to-date version, you can also install it via a binary installer. A macOS Git installer is maintained and available for download at the Git website, at https://git-scm.com/download/mac.
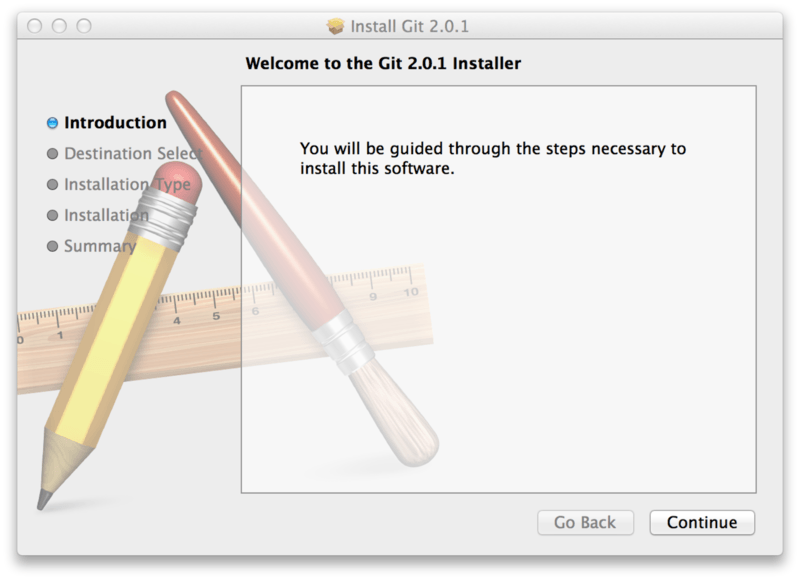
Figure. Git macOS Installer.
You can also install it as part of the GitHub for macOS install. Their GUI Git tool has an option to install command line tools as well. You can download that tool from the GitHub for macOS website, at https://desktop.github.com.
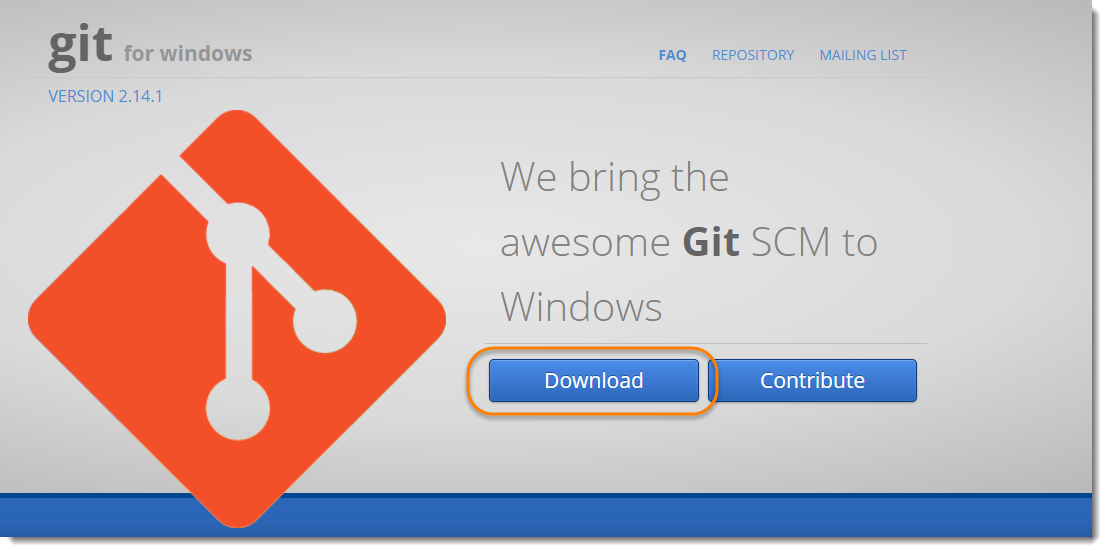
Steps to Install Git on Windows
1) Download the latest Git for Windows.
2) Go to the folder where new downloads gets store, at my machine by default folder is Downloadfolder. Double click on the installer. The installer gets save on the machine as per the Windows OS configuration. My machine is 64 bits.
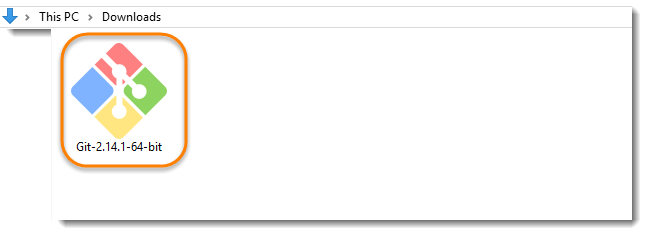
Note: When you've successfully started the installer, you should see the Git Setup wizard screen. Follow the Next and Finish prompts to complete the installation. The default options are pretty sensible for most users.
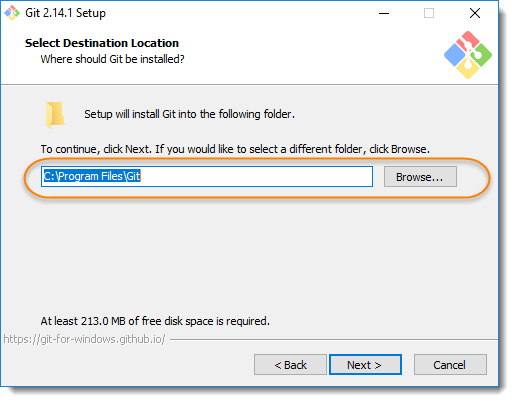
3) You may like to keep the installation to another folder, so here is the chance to do so. I just want to keep it in the suggested default folder in my Program Files\Git.
4) This is the option to store the shortcut of the Git under the Program Menu.

5) This is asking your choice, whether you like to Git from the Windows Command Prompt or you like to use some other program like Git Bash. As of now just select the Windows Cmd for simplicity of the tutorial, later we will cover Git Bash and other as well.

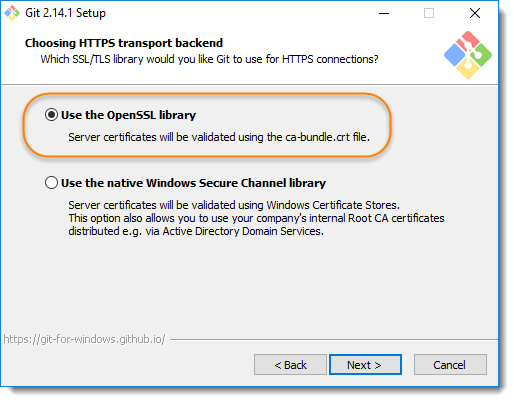
6) If you have PuTTY/TortoiseSVN installed, you may see this screen, otherwise just ignore this. Regardless, use OpenSSL to make things easy.
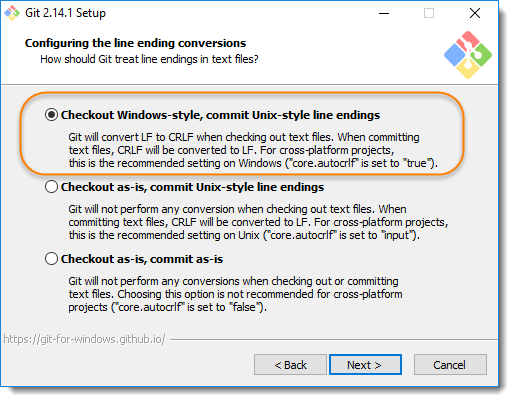
7) Here, we recommend to choose the option of Checkout Windows-style, commit Unix-style line endings. Select next once you have done this.
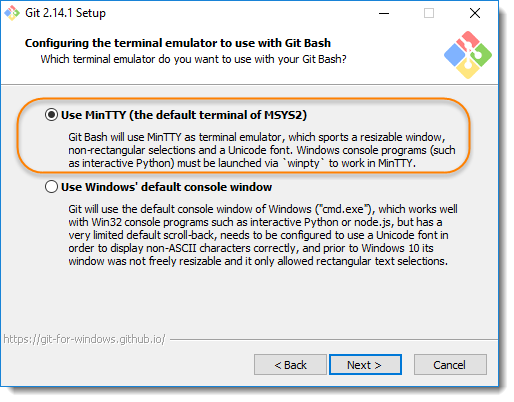
8) Again, just go with default selection and move forward.
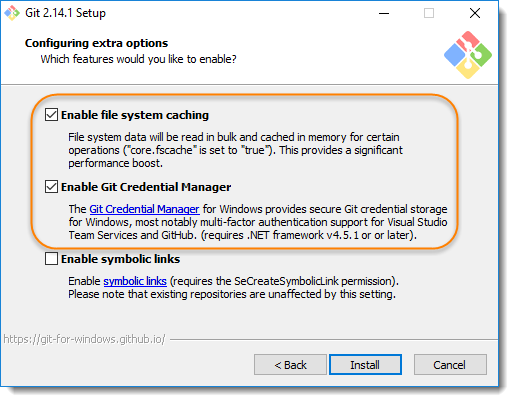
9) Just go with default selections, as we will cover the details in later advance chapter.
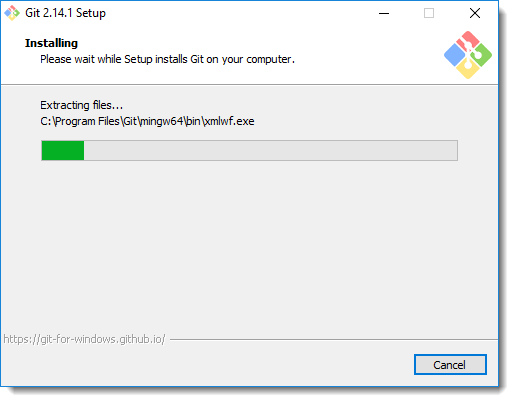
10) Now, it's all done. This will just take a few minutes to complete the installation as per your machine speed.
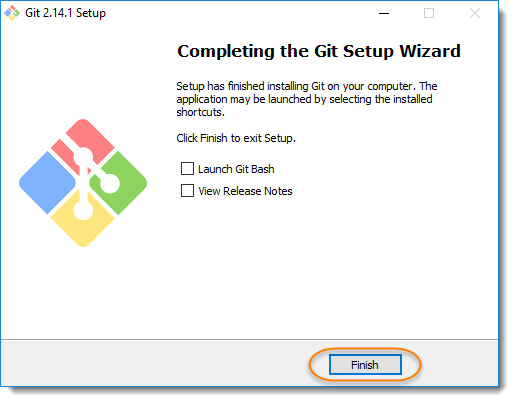
11) Once done, just click on Finish button
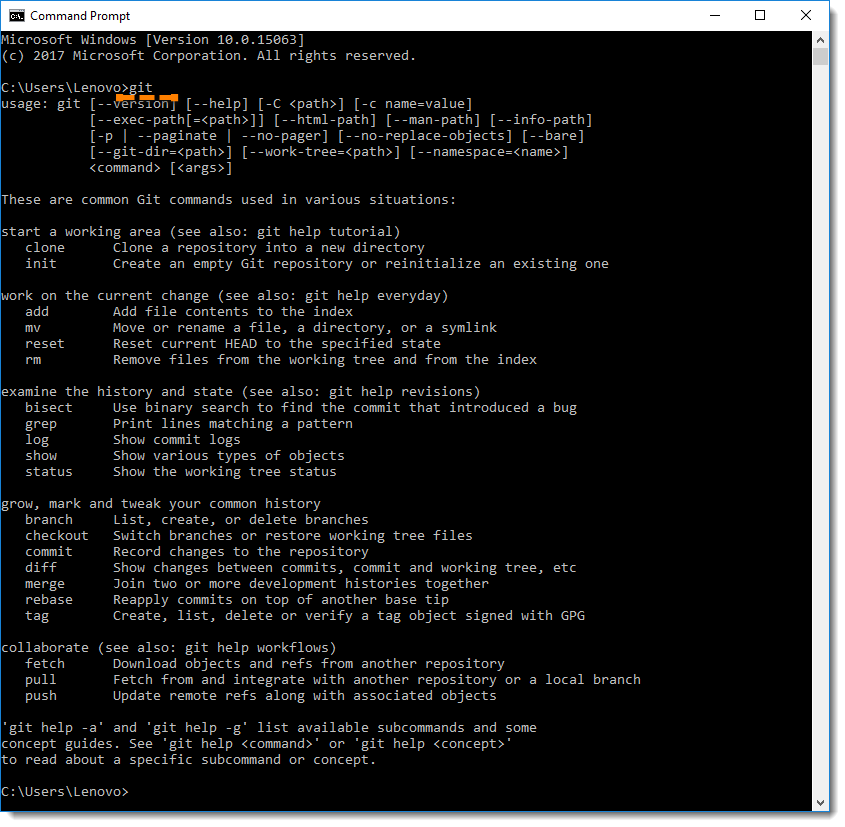
12) Let's just verify if the installation went well for Git. Go to cmdand type gitand press enter. you should get the following output on the screen.
Configure GitHub Credentials with Git:
Configure your local Git installation to use your GitHub credentials by entering the following:
git config ----global user.name "<github_username>"

git config ----global user.email "<email_address>"
Note: Replace <github_username> and <email_address> with your GitHub credentials.
Example:
git config ----global user.name "altafshaikh"

git config ----global user.email "iamaltafshaikh07@gmail.com"
Checking Your Settings
If you want to check your configuration settings, you can use the git config --list command to list all the settings Git can find at that point:
$ git config --list
Output:
user.email=iamaltafshaikh07@gmail.com

user.name=altafshaikh
Now we are ready to use the Git. In the next section, we will see some basic commands of Git.