In this section, we will learn what is Admin in Django and how to create a superuser account for your website and access the admin interface from the browser.
So in our previous section, we have successfully created our URLs. Let's create a Post model and register it to the Admin interface using admin.py file and access the Post model from the admin interface, which lets us perform basic CRUD operation.
Django Admin
One of the main features of Django is its Admin Interface. Django provides a ready-to-use user interface for administrative activities. An admin interface is important for a web project. Django automatically generates admin UI based on your project models.
Registering models
First, open admin.py in the catalog application (account/admin.py). It currently looks like this --- note that it already imports django.contrib.admin:
from django.contrib import admin

# Register your models here.
In our case, we have created a User model which is a built-in Django model so the User model is by default register in the Admin interface. So lets first create another model in accounts/model.py file. Copy the below code in the existing account/models.py file.
from django.db.models.deletion import CASCADE

class Post(models.Model):
    pic = models.ImageField(upload_to="images/",null=True, blank=True)
    subject = models.TextField(max_length=200)
    msg = models.TextField(null=True, blank=True)
    cr_date = models.DateTimeField(auto_now_add=True)
    count = models.IntegerField(default=0)
    comment_count = models.IntegerField(default=0)
    upload_by = models.ForeignKey(to=User, on_delete= CASCADE,null=True, blank=True)

    def __str__(self):
        return "%s" % (self.subject)
Now run the migrations command:
python manage.py makemigrations account
altaf@kali:~/Desktop/Tutorial/social$ python manage.py makemigrations account

Migrations for 'account':

account/migrations/0002_post.py

- Create model Post
and then
python manage.py migrate
altaf@kali:~/Desktop/Tutorial/social$ python manage.py migrate

Operations to perform:

Apply all migrations: account, admin, auth, contenttypes, sessions

Running migrations:

Applying account.0002_post... OK
Now, Register the models by copying the following text into the bottom of the file. This code simply imports the models and then calls admin.site.register to register each of them.
from .models import Post

admin.site.register(Post)
Creating a superuser
In order to log into the admin site, we need a user account. In order to view and create records we also need this user to have permission to manage all our objects. You can create a "superuser" account that has full access to the site and all needed permissions using manage.py. You can create multiple superuser account.
Run the below command to create a superuser account:
python manage.py createsuperuser
You will be prompted to enter a username, email address, and strong password.
altaf@kali:~/Desktop/Tutorial/social$ python manage.py createsuperuser

Username: root

Email address: root@gmail.com

Password:

Password (again):

The password is too similar to the email address.

This password is too short. It must contain at least 8 characters.

This password is too common.

Bypass password validation and create user anyway? [y/N]: y

Superuser created successfully.
Now run the server again if it is not running:
python manage.py runserver
Logging in and using the site
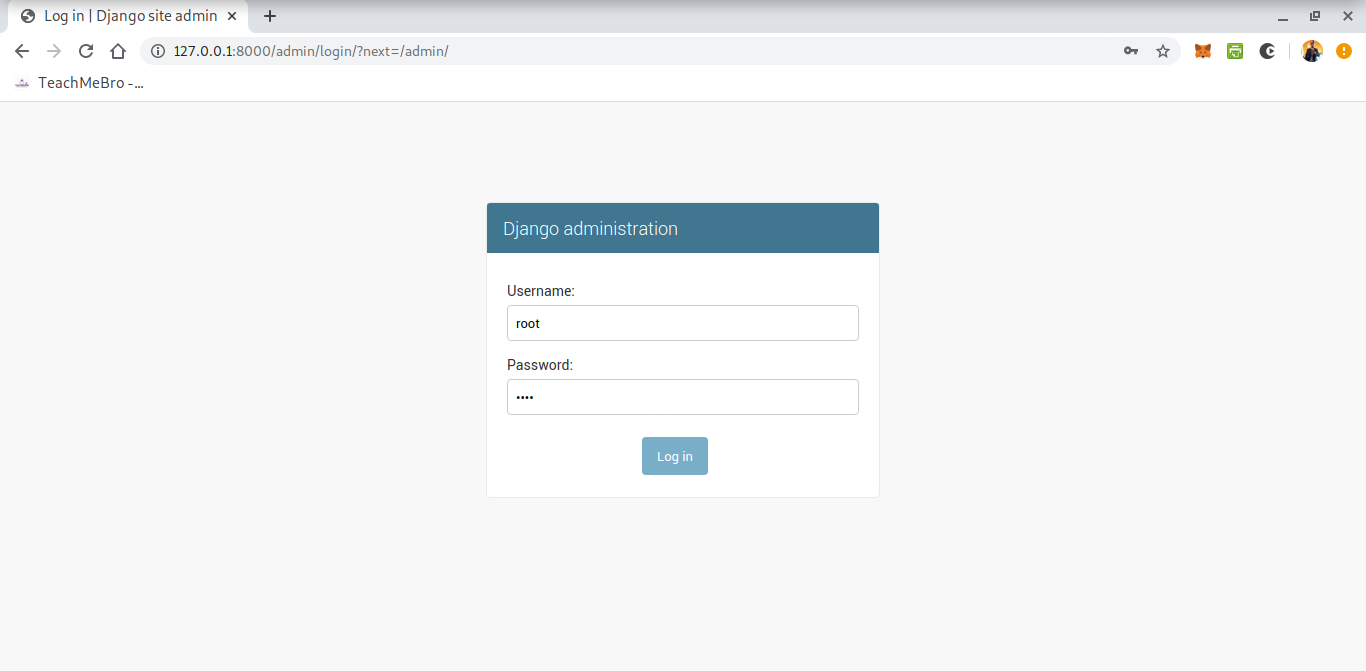
To login to the site, open the /admin URL i.e http://127.0.0.1:8000/admin and enter your new superuser userid and password credentials.
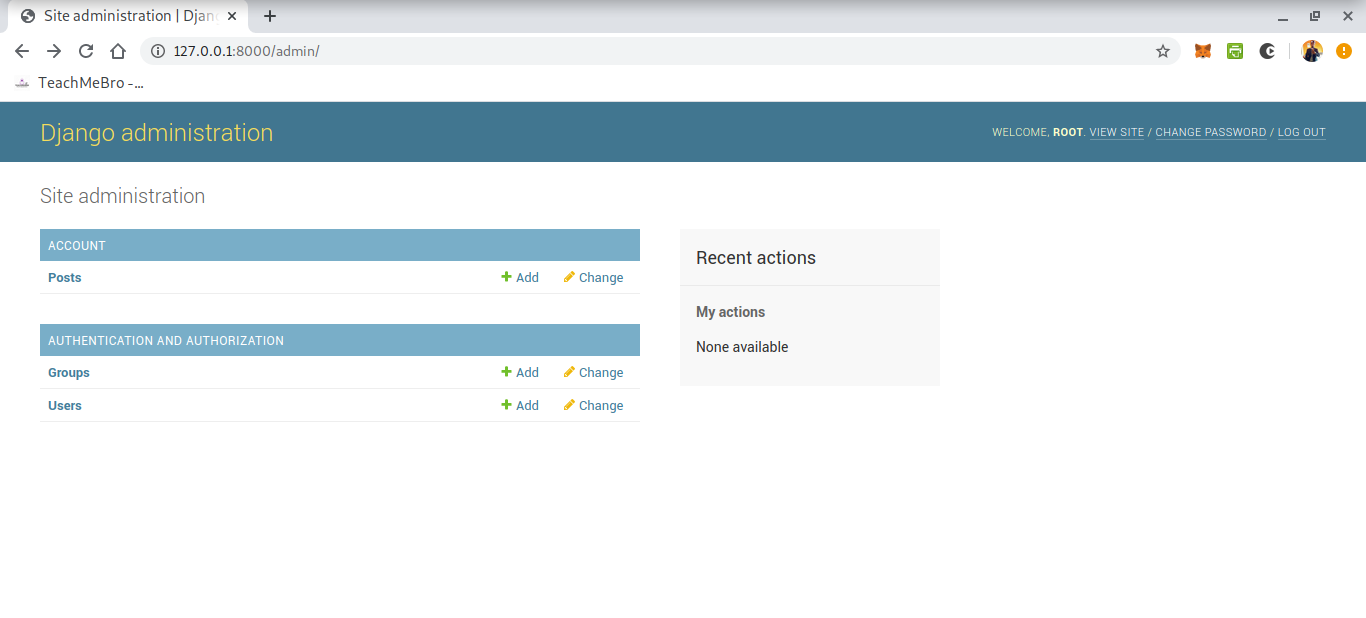
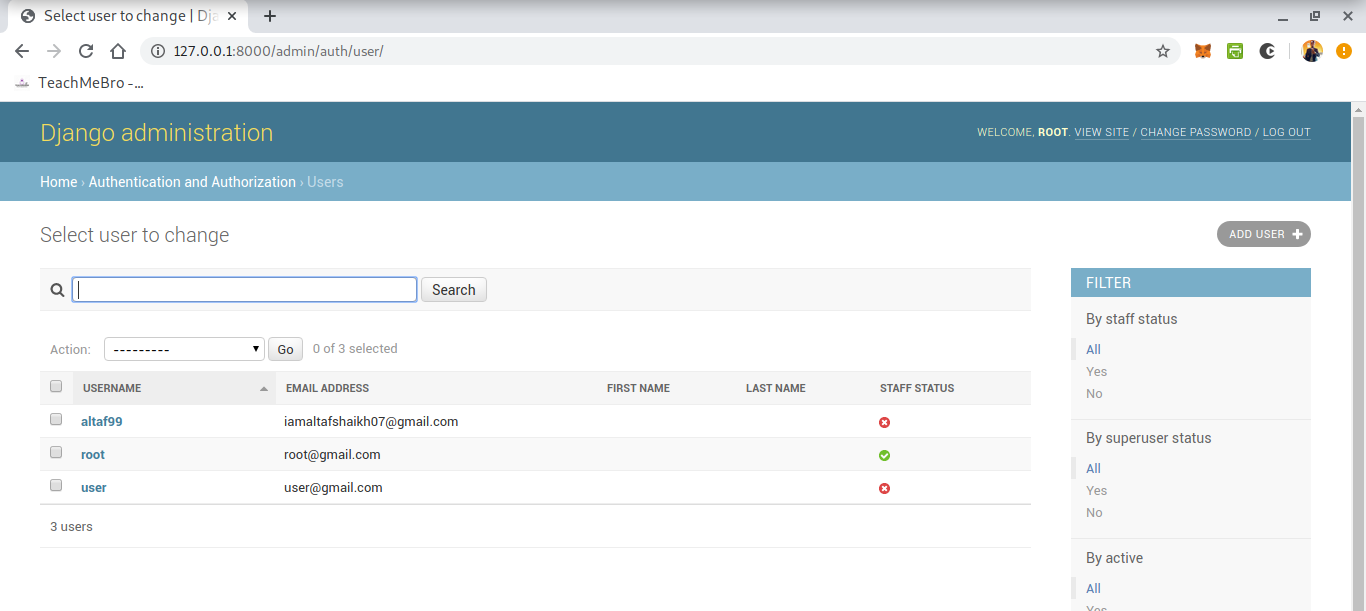
 After successfully logged in, this part of the site displays all our models, grouped by installed application. You can click on a model name to go to a screen that lists all its associated records, and you can further click on those records to edit them.
 You can also directly click the Add link next to each model to start creating a record of that type. You can also delete records from the admin interface. Basically this interface gives you the ability to do at least the "CRUD" (Create, Read, Update, Delete) operations on your models.

Explore the Admin Interface more on your own it is very cool and easy to use.
Finally, we had seen the Django Admin Interface, Now let's move to the final chapter of this series and complete the tutorial.

